Snag My Blinkie!


My Hangouts


I CT For

CU Licenses


Showing posts with label Tutorial. Show all posts
Showing posts with label Tutorial. Show all posts
Wednesday, July 31, 2013
New PTU tutorial from Rockin' Robins Tuts
Check out this new tutorial from Rockin' Robins Tuts
using my PTU kit Fantasy Daydreams!
Thanks Robin!
Preview:

*enjoy*

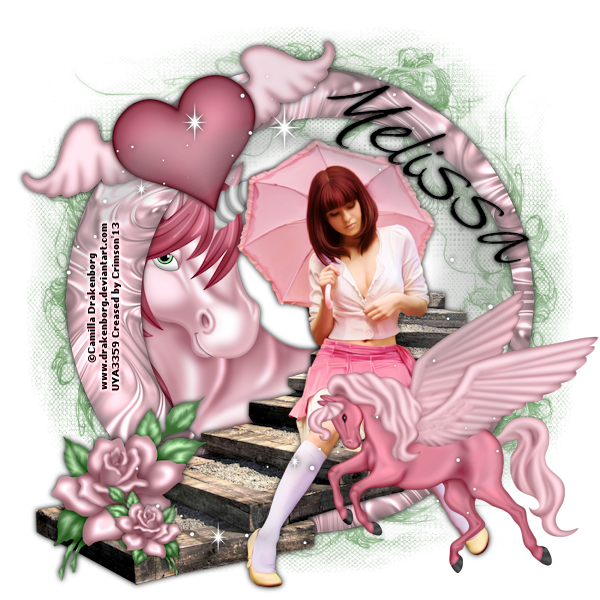
New PTU tutorial by BabyDragon
Here's an awesome new tutorial by Tutz by BabyDragon
using my Fantasy Dayderams PTU kit!
Preview:
*enjoy*
Thursday, November 8, 2012
New CT Tutorial Emo Bo Peep plus Extras from Rockin' Robin's Tuts*

Sunday, November 4, 2012
*CT Tutorial Rock Revolution Plus Extras from Rockin' Robins Tuts*

*Ct Tutorial Colors of the Rainbow from Tutz by BabyDragon*

Tuesday, October 16, 2012
*New tutorial and extras from Rockin' Robins Tuts using my PTU Purple Passion kit!*

You may find the tutorial and extras HERE on her blog!
Gorgeous job, thank you Robin!
Friday, September 21, 2012
*New CT tutorial plus snags using my "Rainbows-N-Stuff" PTU scrap kit*

Find the tut HERE!
Monday, September 17, 2012
*Tutorial with my Broken Hearted kit*

check out the tutorial HERE on her blog!
Thanks, Lady Dragus!!!
Wednesday, July 18, 2012
* New CT Tutorial and Snags From Rockin' Robin's Tuts! *

Check out Tutorial and snags HERE!
Thursday, July 12, 2012
* Dangerous Beauty CT Tutorial By Rockin' Robin Tuts *

Thursday, June 21, 2012
*New CT Tutorial from Tutz by BabyDragon*
Check out this awesome tutorial by BabyDragon!
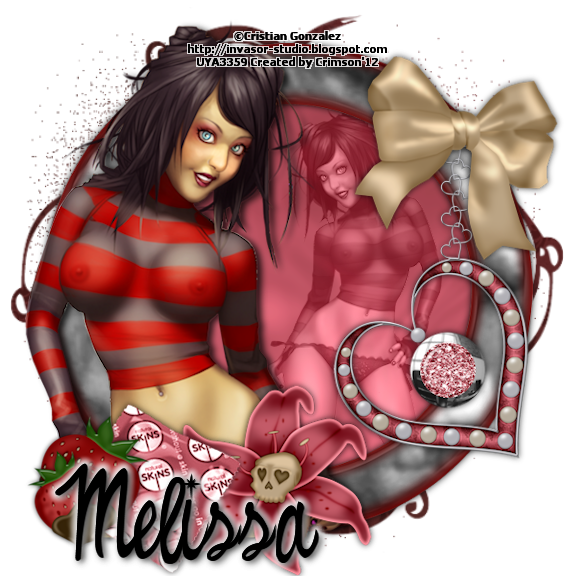
Tutorial here:
Thanks BabyDragon!
Tuesday, March 27, 2012
Awesome Tutorial with my Midnight Blues kit
Jessica from Gothic Inspirations made this AWESOME tag and tutorial using my Midnight Blues TS kit!
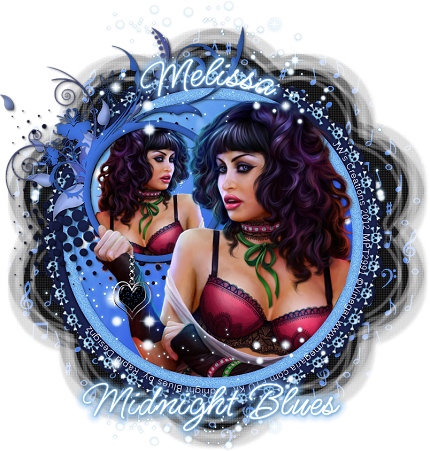
Check out her tutorial HERE! Thanks, Jessica!
Sunday, March 18, 2012
New Tutorial using my Midnight Blues kit!
Rapsody from UpYourArt has stunned me with this tutorial using my Midnight Blues kit!
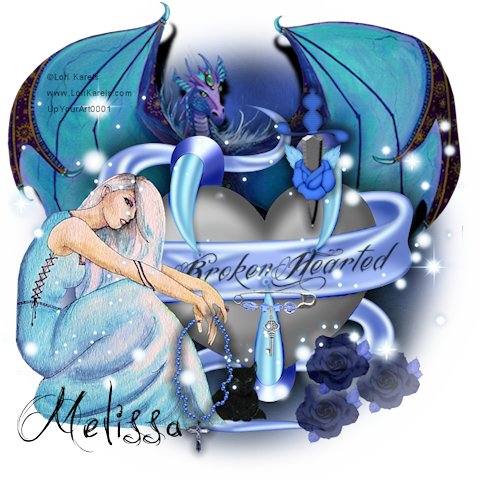
Gorgeous! Thank you so much Raps!
Find the tutorial HERE at Easy Peasy Tuts
Friday, March 16, 2012
New Tutorial from Rissa's Designs ~ Midnight Blues
Rissa's Designs made this gorgeous and easy to follow tutorial
using my Midnight Blues tagger kit!
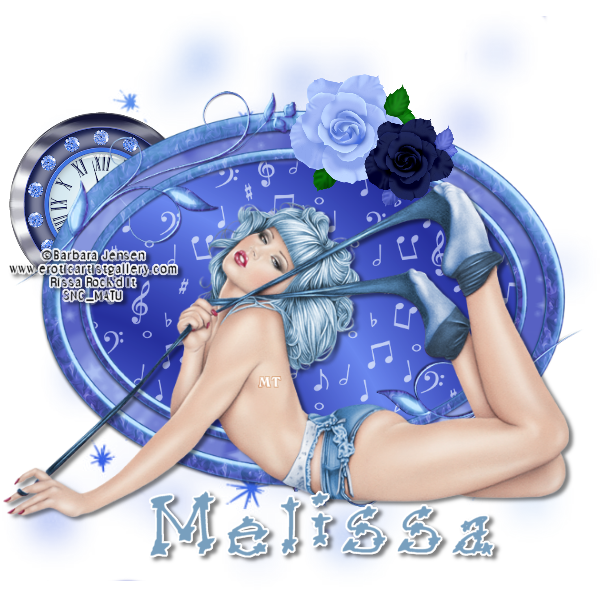
Thank you Rissa! This is awesome!
You may find her tutorial HERE!
Thursday, March 8, 2012
Tutorial using my kit Get Lucky

Friday, March 2, 2012
New Tutorial From Tasha's Playground ~ Midnight Blues
Check out this awesome animated photoshop tutorial by Tasha using my Midnight Blues scrap kit!
Simply gorgeous, thank you Tasha!
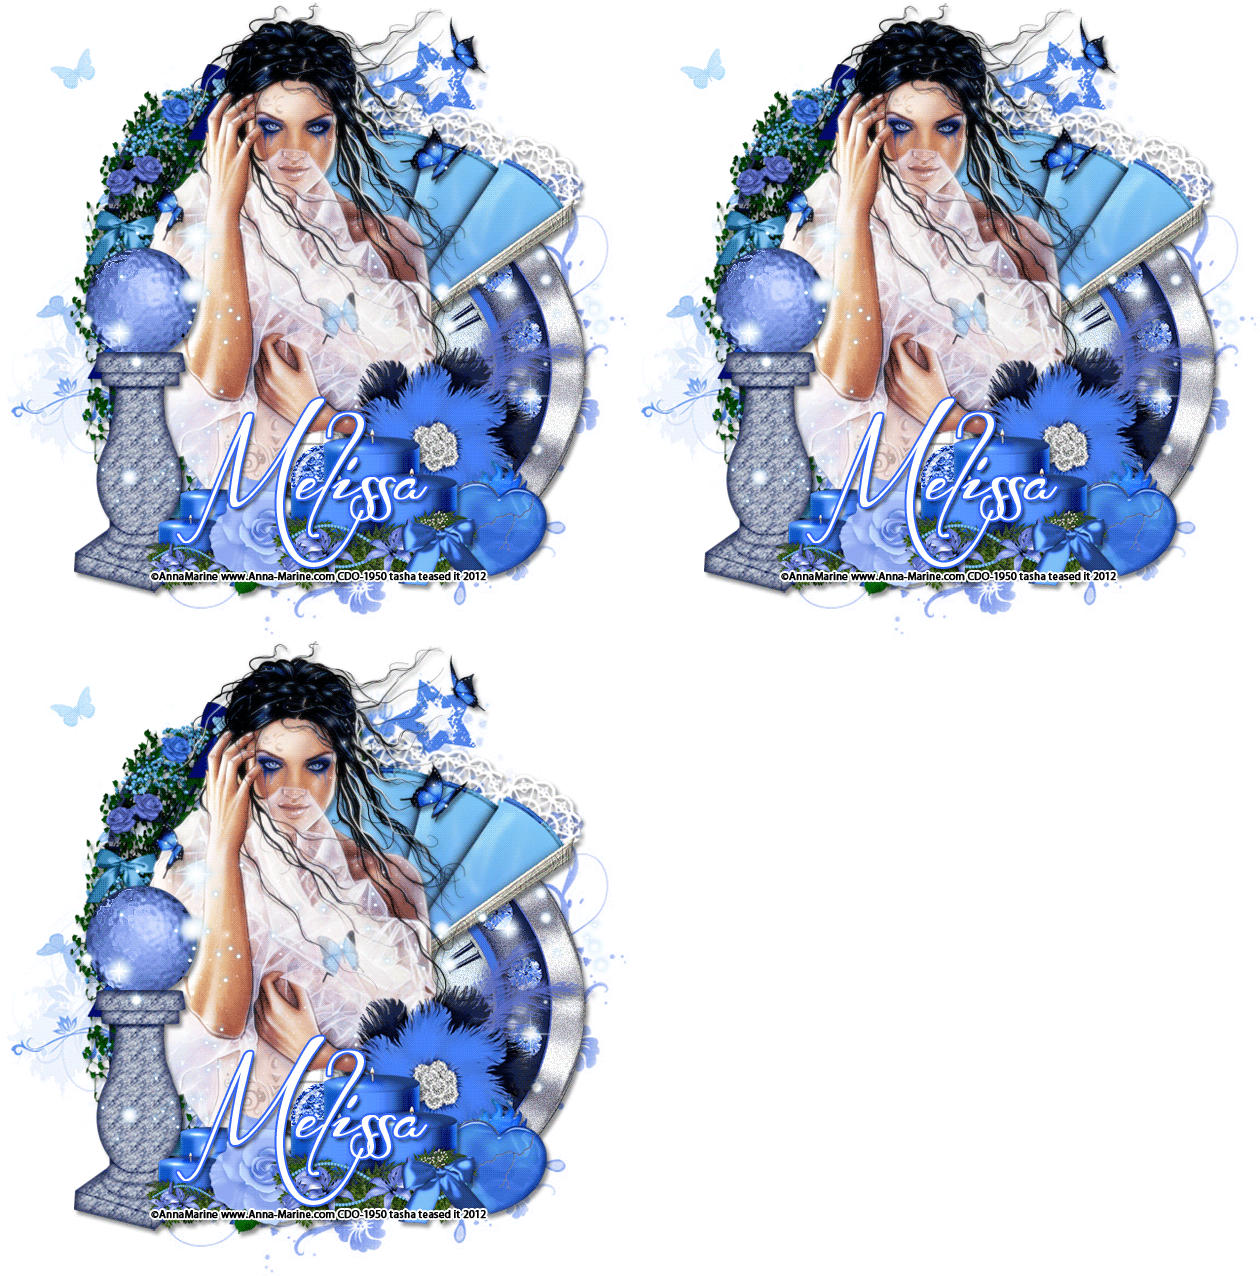
Tutorial HERE!
Saturday, October 22, 2011
My First Tutorial!
I have decided to give tutorial writing a try. I decided to start with something simple since I have never written one before LOL! Any resemblance to anyone else's tutorials is coincidental.
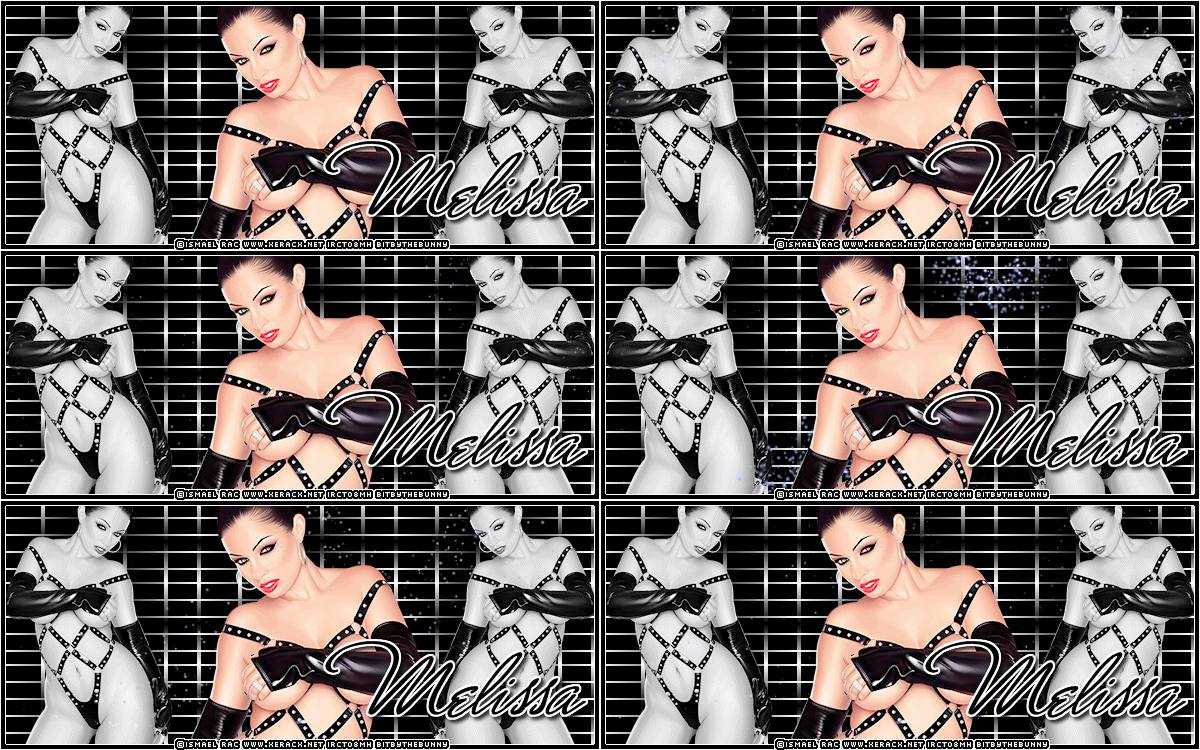
I made this banner using the awesome "Hot Hot Hot" tube by Ismael Rac
which you can purchase at his store HERE
you must have a license to use his art.
Supplies:
tube of choice
PaintShop Pro (I used PSP X2)
Plug ins: VisMan Instant Art - Wired
(freeware filter)
Starburst Animation by Patricia
which you can download at her blog HERE
Jasc Animation Shop3
Let's begin!
Open a new canvas 600 x 250
flood fill white.
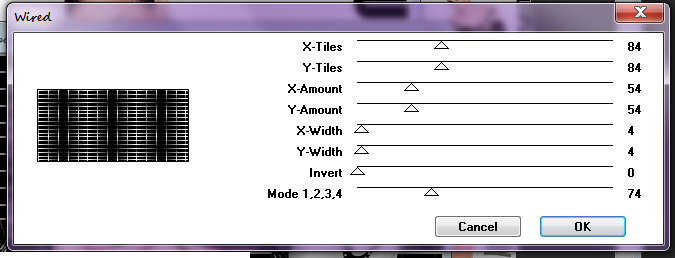
apply Visman Instant Art - Wired with these settings:
84, 84, 54, 54, 4, 4, 0, 74
Now paste your tube as a new layer, and resize as desired
I resized mine at 50%
Move this tube over to the left, change the blend mode to Luminance Legacy
duplicate this layer and mirror it.
Go to Layers ---> merge ---> merge visible
Paste your tube again as a new layer and resize as needed
I resized mine at 80% this time.
For the border: add a new raster layer
selections ---> select all,
selections ---> modify ---> contract 6 pixels
selections ---> invert, flood fill the selected border white
do not deselect
selections ---> modify ---> contract 2 pixels
new raster layer, flood fill this selection black
select none.
Add your copyright information and a name, and any desired text.
For the name, I used the free font Monika which you can get HERE
Now, hide the merged background layer, and merge visible the top layers.
Crop your image, snap crop rectangle to merged opaque.
Now for the animation!
Open the Starburst animation in animation shop (AS)
In PSP hide the merged top layer and unhide the merged bottom layer
copy merged and paste as a new animation in AS
paste after current frame until you have 50 frames.
(I use the keyboard shortcut and hold Ctrl + Shift + L to do this faster)
on the starburst animation select all and copy,
then on your background select all, and paste into selected frame.
View animation to make sure you have it centered correctly.
Now go back to PSP, hide the bottom merged layers and unhide the top merged layers.
Copy merged and paste as a new animation in AS.
Ctrl + Shift + L until you have 50 frames. Select all and copy.
Go to your background that you pasted the starburst on, select all and paste into selected frame
Make sure you line it up so the border is around the edges where it is supposed to be.
View animation, and if you are happy with it, save as a gif file using default settings!
I hope you enjoyed my first tut...and I hope I didn't ramble too much LOL
Any feedback is welcomed, and I would love to see your results!
Subscribe to:
Posts
(Atom)
Stores I Sell At


My Creative Team


Follow me

Blogs I Stalk


